Saving money is an important and great habit to be done now for future purposes. Whether it is for short or long term goals, or for sudden unfortunate events that may occur where you will be needing to spend. In this case, you won’t bother anyone from anywhere to borrow some money to solve the problem because you have an extra resource to count into. As saving money is a great thing to do, it is good to teach kids to get hooked into this. This will not only teach them to be thrifty but they can acquire lots of values from this as well. Take it from the famous saying that goes, “The habit of saving is itself an education.”
The most challenging part of saving money is to get started. To encourage your kids to this, making saving money fun can be a great way. One fun way is coming up with crafted creative piggy banks. If you are looking for creative piggy bank ideas for kids that can be made in the heart of your own home then you are in the right leaf! Here, we have compiled many ways to make your piggy banks. So, get your hands on some materials and tools or a DIY sesh now!
1. The formula can piggy bank
You will be needing: An empty, clean and dried formula can with lid, a fat quarter, hot glue for the glue gun, scissors, coordinating cardstock, mod podge, ribbon, and sequin string.
- Start through covering the formula can with the fat quarter (any color of your choice), and use a hot glue gun to stick it.
- Get the ribbon and sequin to cover the bumpy edges of the fat quarter, and use hot glue to stick it.
- Get the lid ready. Make a slit in the top middle of the plastic lid, and cut a circle from the cardstock with the same size as the lid.
- Apply the mod podge to the lid, and paste the cardstock circle into it. Let it dry.
- To cut a slit in the cardstock, you need to use an Exacto knife, then align the lid to the formula can.
- To add decorations, use the mini clothespin to hold the mini chalkboard and ribbon tightly.
- You can write your kid’s name on the chalkboard or the amount deposited into it.
2. Superhero mason jar piggy bank
You will be needing: A regular quart jar, mason jar lid with coin slot, Exacto knife, duct tape of your color choice, cutting mat, and black and blue spray paint.
- Paint the jar and cap using spray paint in an area where there is enough ventilation, and allow it to completely dry.
- Sketch the batman (depends on what superhero you want) marks on the duct tape with a pen. If you do not know how to draw, you can print images from the internet, cut them out, and trace.
- Use the Exacto knife to cut out the shapes, and layer the duct tape to make a batman mark. The duct tape will be easily peeled off the cutting mat.
- Put the pieces together if the jar is already dry.
3. Pencil piggy bank
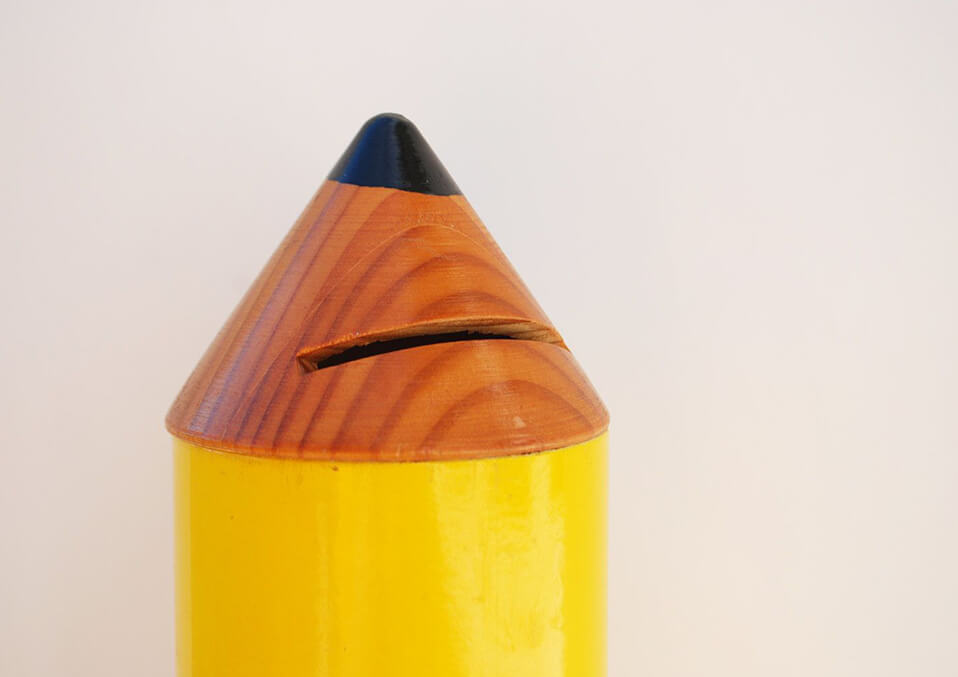
You will be needing: A scotch mail tube (any size of your choice, but for this, we used a 4 by 48 inches mail tube), yellow and pink craft paint, silver scrapbook paper, and a craft knife. These are for the body of your pencil piggy bank.
- Paint the tube using the yellow paint, and leave around five inches of an unpainted piece at the bottom part.
- Paint the remaining five inches at the bottom using the pink paint.
- Trim the silver scrapbook paper and enclose it around the bottom part of the mail tube, but not covering the painted pink portion. Attach it using glue or double-sided tape. You can put score lines to the silver scrapbook paper to make it appear like a pencil but it depends on you.
- Cut a slit on the side of the tube, this is where you will put your money.
To get the top of your pencil piggy bank done:
You will be needing: Black, yellow, and tan paint, four inches paper mache cone, a foam brush, and a hot glue gun.
- Paint the whole cone using a tan-colored paint.
- Create a zig-zag design using yellow paint. You have to stroke a few coats of yellow paint to make it fully opaque and the tan paint to not appearing through.
- Paint the so-called “lead” of the pencil using the black paint.
- To attach the top of the pencil to the tube, you need to use a hot glue gun.
- Add some more yellow paint to any revealed glue to get a smooth look.
4. Wipes Container Piggy Bank
You will be needing: A baby wipes container, black and pink cardstock or construction paper, scissors, googly eyes, and a glue (we used mod podge for this one).
- Begin with cutting out a small circle and two ear-shaped using the pink cardstock, and cut out two small oval-shaped using the black paper.
- To make the pig’s nose, stick the black ovals to the pink circles. Attach the nose as well as googly eyes at the front of the wipes container using the mod podge.
- Use the mod podge to stick the ear shapes to the sides of the container.
5. Cereal box piggy bank
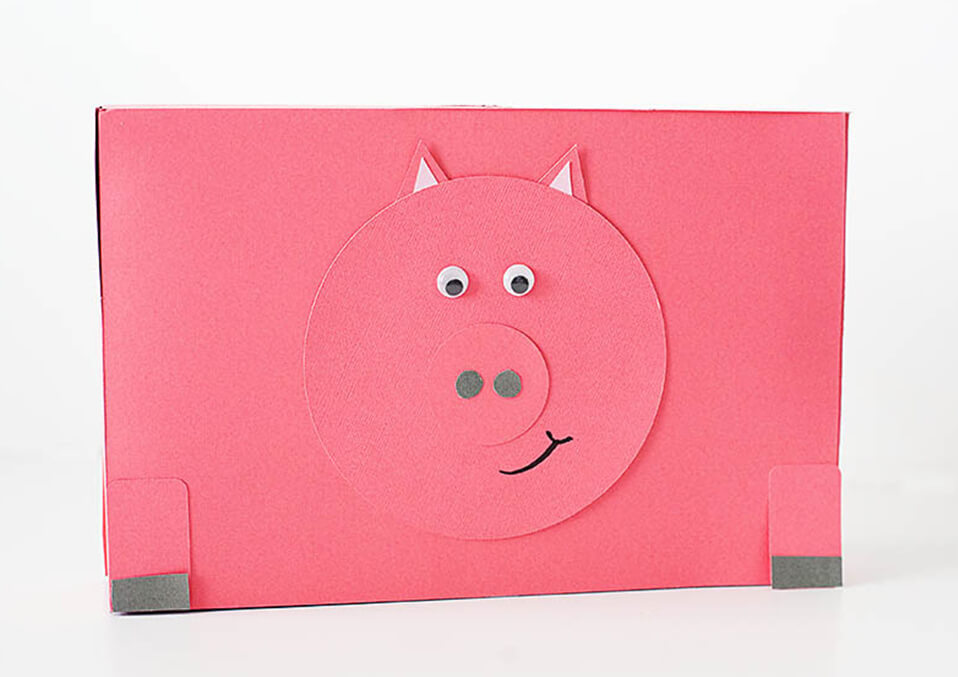
You will be needing: An empty cereal box, construction paper (any color of your choice), glue, scissors, a pipe cleaner, and googly eyes.
- Begin by covering the cereal box using the construction paper.
- Cut out shapes for an animal design of your choice (we choose a cutie pig for this one).
- Stick the pieces and shapes together, then attach it to the covered cereal box.
- As it is fun to put a curly tail to make it appear like a pig, use the pipe cleaner and attach it to the back part of the cereal box.
- Trim a slit at the top of the cereal box to put your money.
6. Airplane piggy bank
You will be needing: An empty plastic bottle (any size of your choice), double-sided tape, cardstock paper (we choose color white and blue), pencil, and scissors.
- Begin with making a money slot. Trim a rectangular slot with a size of one inch long and a half-inch wide in the side portion of the plastic bottle.
- Create the fuselage of the airplane. Draw two the same shape upside down Ls for the back half of the airplane to create a fuselage and a rudder. You can draw the first piece then use it as a mark and trace it for the second piece to make the size the same.
- Connect the rudder and the paper fuselage once they are cut. Attach them to the plastic bottle using the double-sided tape.
- For the engines of the airplane, draw two similar rectangles with the size of four inches long and one inch thick using the cardstock paper. After cutting rectangular shapes, roll them out into long tubes. Fasten the tubes using the double-sided tape, and attach them to both sides of the plastic bottle.
- For the wings of the airplane, draw two the same triangles having rounded tips using the cardstock paper. Trim them out and connect them above the engines.
- For the airplane’s propeller, draw it using the bottle cap. The bottle cap will fasten the propeller in the bottle so a smaller circle opening than the cap is ideal thus it will not slip over.
- You can add more details of your choice using the excess of the cardstock papers. You may opt to draw and cut window pieces or draw faces on it.
There you have it! What are you waiting for, grab those materials to start making your piggy banks for your kids as this will stimulate their creative and artistic side as well! Just refer to our piggy bank ideas for kids listed above. Have fun making!
Read also:
- Kid-friendly Living Room Ideas you can Try
- Different Ideas for Homemade Gifts from Toddlers to Grandparents
- Bookshelf Ideas For Kids: A Great Way to Encourage Your Kids to Love Reading


