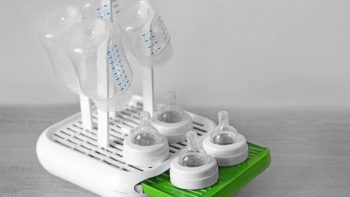
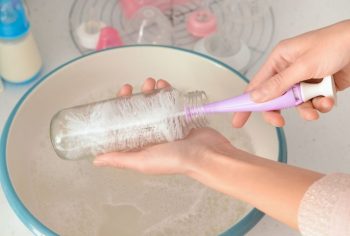
As a new parent, there are so many things to learn – and one of the most important is how to properly sterilize baby bottles. It can feel like a daunting task, but with the right instructions and supplies, it’s actually much simpler than you think.
Keep reading for a comprehensive guide on how to sterilize your baby’s bottles in just a few easy steps.
Why do I need to sterilize bottles? 
First things first – why should you even bother sterilizing your baby’s bottles in the first place? The answer is simple – it eliminates harmful bacteria that can cause illnesses in your little one. Most bacteria can be removed with hot water and soap, but some need higher temperatures to be destroyed completely. That’s where sterilization comes in.
Now that you know why it’s important to sterilize bottles, let’s get into the details of how it’s done. The easiest way is using an electric steam sterilizer, which will do all the work for you! All you have to do is fill the unit up with water and place your bottles inside before pushing a button.
In 10-15 minutes, all of your bottles will be sterile and ready for use!
If you don’t have an electric steam sterilizer, no problem – boiling is another great option! Start by filling a large pot with enough water so that all of the bottle parts are fully submerged when placed inside.
How to sterilize bottles?
Bring the pot to a rolling boil and then lower each piece into the water one at a time, making sure not to burn yourself or splash boiling water around! Boil everything for 5 minutes before taking out and giving time to cool off before handling.
Conclusion

Sterilizing baby bottles may seem like an intimidating task but with these simple instructions, anyone can master this skill quickly!Sterilize baby bottles safely with electric steam or stovetop boiling. Ensure a clean and bacteria-free feeding experience for your little one


